
All content on this website is provided solely for educational and demonstration purposes. Any software downloaded from this site is not intended for commercial use or broad distribution. You are solely responsible for ensuring compliance with all applicable license agreements and laws.
If you appreciate a particular program, we strongly encourage you to purchase the official version and support its developers. They invest significant time and effort into creating these tools and, unlike many others, cannot work for free — they need to earn a living. Consider leaving a comment, sharing, or otherwise supporting those who work hard for you.
? Introduction: From Installation to Artistry
Congratulations! You have successfully navigated our V-Ray Compatibility Matrix and found the perfect, stable version of the engine for your 3ds Max setup. You now have the power.
You can verify compatibility and select your perfect V-Ray version for 3ds Max on our main guide. Select your perfect V-Ray version for 3ds Max.
But in visualization, having the right tool is only half the battle. The true magic—the difference between a rendered image and a breathtaking masterpiece—lies in the artistry of lighting, the realism of materials, and the efficiency of the workflow.
This guide goes deep. We are moving beyond simply downloading V-Ray; we are teaching you how to master it. If your renders currently look flat, dull, or unnatural, this article is your essential roadmap to achieving world-class, photorealistic visualizations.
? Section 1: The Science of Light – Global Illumination Mastery
The single biggest differentiator between amateur and professional renders is lighting. Forget simple three-point lighting; we are talking about Global Illumination (GI).
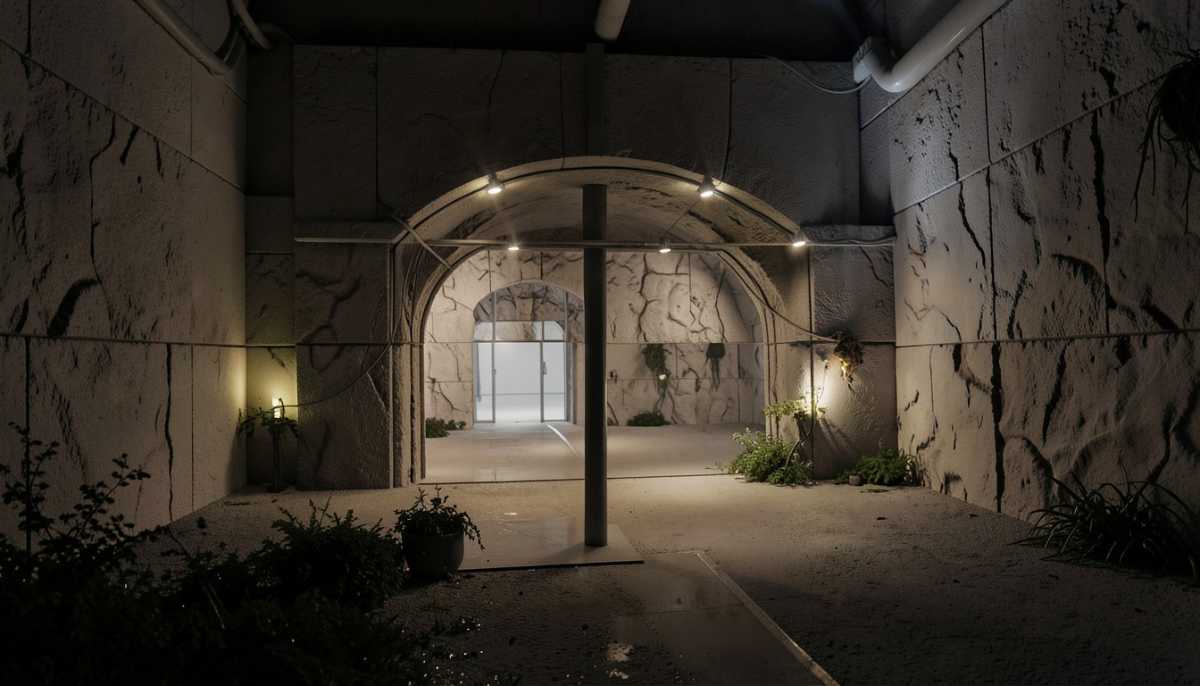
- What is GI? It simulates how light bounces off surfaces—reflecting off a pale wall and casting a subtle, colored bounce light onto a nearby object. This is what makes interiors feel lived-in and real.
- Best Practices: Learn to utilize V-Ray’s environment map settings and bounce light parameters to simulate real-world ambient light decay.
- Advanced Tip: Never render an interior scene with one single light source. Always layer ambient light, directional light (sun), and artificial sources.
? Section 2: Material Reality – Beyond Simple Color Maps
A perfect render lives or dies by its materials. A shiny floor shouldn’t just be white—it must interact with light like a real polished floor.
- The Importance of Maps: We dive deep into the essential map types: Diffuse, Specular, Roughness, and Displacement. Understanding these maps is non-negotiable for true realism.
- Glass & Translucency: How to properly set up glass materials to handle environmental reflections and subtle pollution effects (a common mistake!).
- Wood & Stone: Techniques for using high-quality texture maps to trick the eye into seeing depth, grain, and wear.
? Section 3: Workflow Optimization – Rendering Like a Pro
A beautiful render is useless if it takes 3 days to generate. Professional visualization requires speed and efficiency.
- Optimization Checklist: Before hitting render, always check: 1) Sampling settings, 2) Output format, and 3) Proxy geometry use.
- Rendering Passes: Learn to render separate passes (Ambient Occlusion, Reflection, Diffuse) and combine them later in Photoshop. This gives you total control over the final polish.
- Performance Tips: Best practices for managing complex geometry that can slow down ray tracing.
? Conclusion: Your Journey to Master Visualization
Mastering V-Ray is a journey, not a destination. It requires knowledge of the engine (covered on our [V-Ray Compatibility Hub]) and an understanding of the physical laws governing light (covered here).
By mastering lighting and materials, you will elevate your projects from “rendered” to “visionary.” Happy rendering!
⬇️ How to download
It's easy, but here's how it actually works:
- Pick your version from the list.
- Hit the Download button – you'll be taken to a file host.
- ⚠️ Important: disable your AdBlocker – otherwise the site might not work properly.
- If you're on a free or temporary plan, you'll see a 30‑second timer – just wait it out.
- After the timer ends, the real download button appears. Click it and get your file.
✅ No extra installers, no hidden registrations – just a short wait.
🙏 And hey – if you appreciate what we're doing, consider supporting us. This site runs on ads, nothing malicious, just honest help for the community. Every click helps keep the project alive.
💬 Community & Support
We sincerely appreciate everyone who supports our website and shows interest in our work.
Your comments and interaction on the site really help our project grow and reach more 3D artists around the world 🌍.
We also have a Telegram channel — where we share updates, exclusive content, and materials that are not available on the website.
If you're looking for something specific — especially assets for Unity Engine or large 3D model packs that haven't yet been published due to their size — you can leave your request there, and if the files are available, we'll provide a direct download link.
Thank you for being part of our community and helping us keep this creative space alive ❤️
🚀 Join Our Telegram Channel
Get early access to new 3D models, exclusive Unity assets, and behind-the-scenes content.
🔗 Join Telegram💡 Your activity helps us grow — every visit, comment, and share makes a real difference.
We're truly grateful for your support and curiosity 🙏